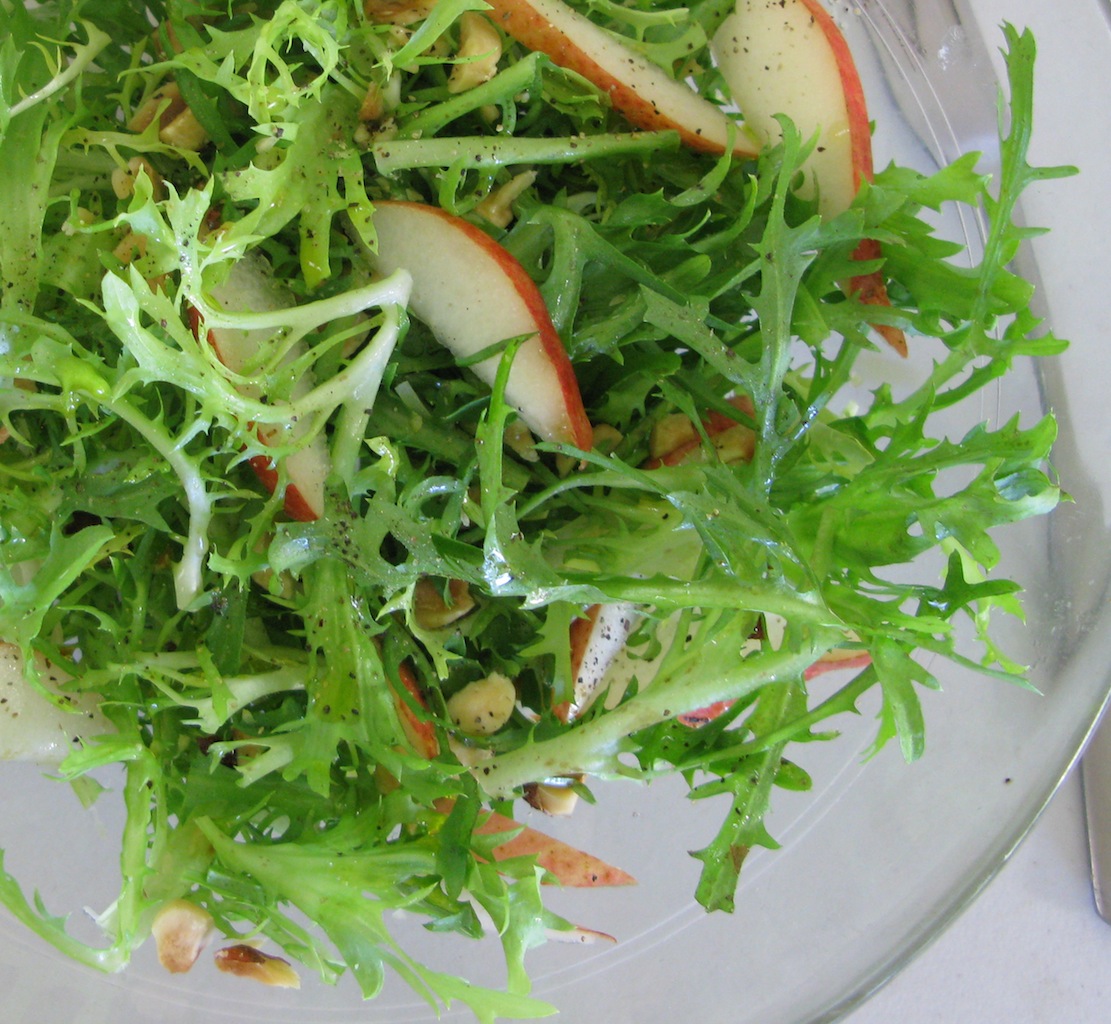
From The Heart of the Plate: Vegetarian Recipes for a New Generation
4 - 5 servings
Frisée is a leggy chickory with a delicate, slender format, and an insistently spunky texture. It loves the crunch of a good nut partner (hazelnuts being ideal) and also readily pairs with pears. Hence this easy salad that is another winter favorite, compatible with a wide range of soups.
This semi-wilted preparation is sturdy, so (and unlike many other tossed salads) you can prepare it up to an hour in advance, short of adding the pears, which should enter at the last minute.
To blanch hazelnuts, spread them out on a baking tray and toast in a 300°F oven for about 10 minutes, shaking the pan once or twice during the process. Transfer them to a bed of cloth or paper towels, and, when the nuts are cool enough to comfortably handle, rub them vigorously. Most (not necessarily all) (but don’t worry about it) of the skins will detach.
½ pound head of frisée
3 tablespoons extra-virgin olive oil
1/2 cup coarsely chopped hazelnuts (blanching optional)
¼ teaspoon minced or crushed garlic
¼ teaspoon salt (scant)
2 teaspoons white wine vinegar
¼ teaspoon sugar (optional)
Roasted hazelnut oil as needed/desired
1 to 2 tablespoons fresh lemon juice
One perfectly ripe pear, any kind (firm and sweet - no mush!)
Black pepper
- Core the frisée (by rapping it sharply on the base – or just use a knife), then pull apart the leaves, wash them, and spin until very dry. Chop it all coarsely (bite-sized) and transfer to a medium-large bowl.
- Heat the olive oil in a medium-small skillet over medium-low heat. When it is warm (not hot), add the nuts, garlic, and salt, and stir to get everything coated with everything else. Continue to cook and stir until the nuts give off a toasty aroma from within the heady fragrance of the garlic.
- Transfer the contents of the pan into the frisée, using tongs for easiest distribution. You can also pick up (with the tongs) some of the salad and swish the pan to mop out more of the flavor and further (slightly) wilt the leaves.
- Spoon the vinegar into the pan, and stir it around to pick up whatever might still be sticking. Scrape all of this into the salad, and sprinkle in the sugar. Toss again to blend as thoroughly as possible.
- Drizzle the lemon juice onto a plate, and slice the pear into the lemon juice, moving the slices around until they’re coated. At this point, you can very gently toss the pear slices, along with the optional cheese and some pepper, into the salad — or you can prepare individual plates of the salad, and top each with pears and possible cheese, and pass a pepper mill. In either case, be sure to include all the lemon juice from the plate.
- Serve as soon as you can after the pears are sliced and added.
Optional Enhancement:
Some very fresh mild cheese (feta, farmer’s, ricotta, Mexican queso) or your favorite blue cheese would be nice on here – crumbled in or on.


